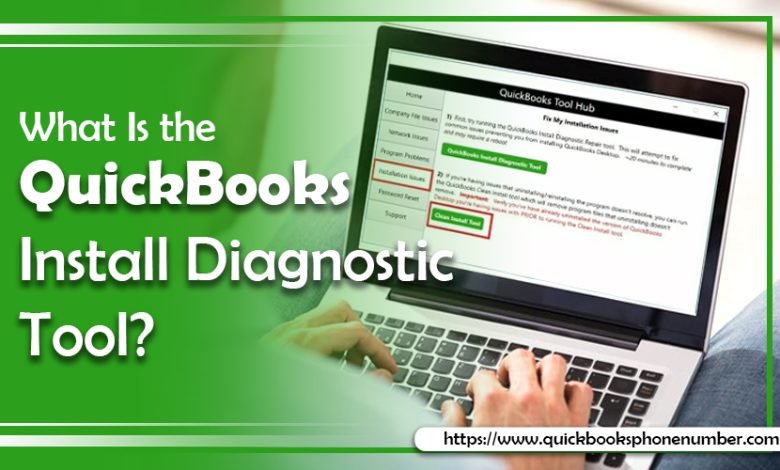
Use QuickBooks Install Diagnostic Tool to Fix Various Errors
QuickBooks Install Diagnostic Tool

QuickBooks is efficient accounting software. But it does not always function smoothly. Users often face interruptions while they are installing QuickBooks on their desktops. If you are also facing similar problems, QuickBooks install diagnostic tool is what you need. The tool fixes errors that occur during QuickBooks installation. Apart from that, it can also fix problems related to C++, MSXML, and .Net Framework. But many people don’t know much about it. In this article, you’ll learn how to download and install this tool and the various errors it can fix.
The Process to Download and Install QuickBooks Install Diagnostic Tool
It’s not challenging to download and install the tool. Here are the steps you should follow.
- Download the QuickBooks Tool Hub from the official Intuit website. It has several valuable errors fixing tools, and the install diagnostic tool is one of them.
- Save the setup file of the diagnostic tool on your desktop.
- Now you’ll notice ‘QBInstall_tool_v2.exe‘ on the screen.
- Shut down other apps that are running on your system.
- Now double-tap the ‘QBInstall_tool_v2.exe‘ file and run it on the system.
- After it diagnoses any errors, restart your system. Your internet connection must be strong.
- The install diagnostic tool automatically recognizes and resolves errors. But often, you will need to reboot the system after it fixes the errors.
How to Resolve Installation Errors through the Install Diagnostic Tool
You must view and analyze the following points through the QB diagnostic tool. It will help you to fix errors.
- Check the ‘Connection‘ tab – Use the ‘Connection‘ tab to check your system. It will also enable you to set up the QuickBooks company file data.
- See the Firewall status – The Install Diagnostic Tool also gives essential information on the Firewall status. So, you can take relevant actions according to the information.
- Test your connectivity – The tool helps in assessing your workstation connectivity.
- Reinstall in a selective startup – Sometimes, third-party apps may create issues with QuickBooks desktop installation. To resolve these problems, it’s important to conduct installation in a selective mode. In this mode, the windows will start with a few chosen items running on the system.
How to start the system in selective Startup Mode
You can start the system in selective startup mode easily. Follow these steps for it.
- Hit the Windows + R keys to open the ‘Run‘ dialog box.
- Input ‘MSConfig‘ and hit ‘OK.’
- Choose ‘Hide all Microsoft Services‘ in the ‘General’ tab.
- Next, select the option of ‘Disable All.’
- Unmark the checkbox that says ‘Hide Microsoft services.’
- Checkmark’ List of services‘ and choose ‘Windows Installer Checkbox.’ Mark it and press ‘OK.’
- Navigate to system configuration and select ‘Restart.’
- Now open the ‘Run’ dialog box, input ‘MSConfig‘, and hit ‘OK.’
- Select normal ‘Startup‘ in the ‘General’ tab.
- Then head over to the system configuration screen and tap ‘Restart.’
Final Words
Now you might feel fully familiar with QuickBooks Install Diagnostic tool. The tool is quite handy and can resolve various installation errors. If you have any queries about using it or want to know more about it, connect with professional QuickBooks customer services.


